How to Use a Weber Charcoal Grill: Easy Tips for Beginners
TheGrillingMaster.com is reader-supported. If you buy something using the links on our site, we might earn an affiliate commission at no added cost to you. This helps us pay our staff to keep making awesome content for you!
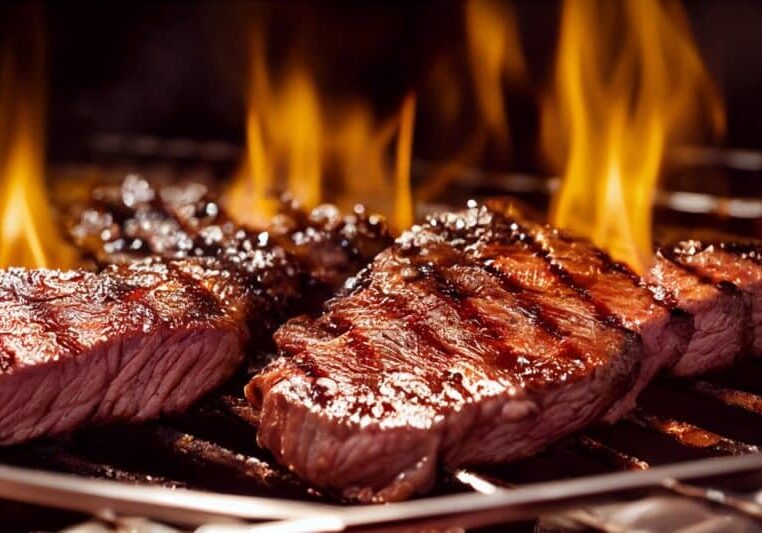
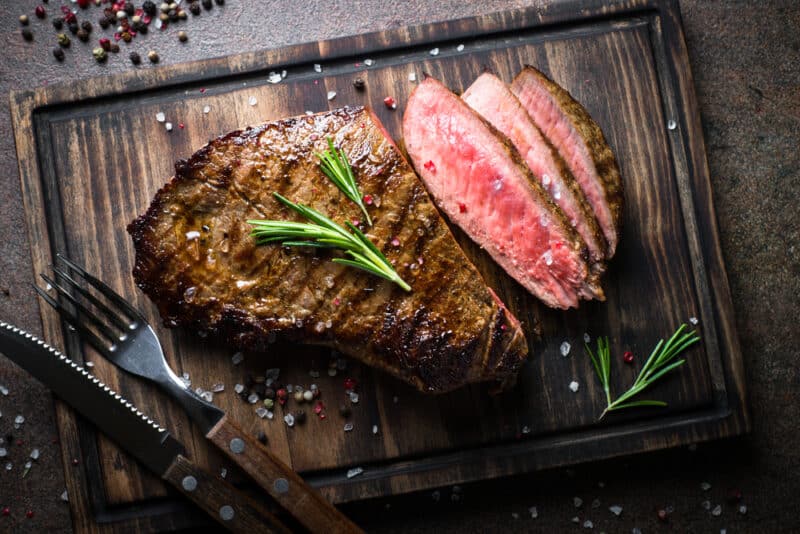
I completely understand the anticipation mixed with a pinch of hesitation as you stand before your shiny new Weber charcoal grill, ready to tackle the quest for that perfectly seared steak.
You’re not alone—did you know nearly 60% of grill enthusiasts swear by charcoal for that unbeatable smoky essence? Throughout my own grilling adventures, I’ve gathered an arsenal of savvy tips and tricks that I’m eager to share.
Together, let’s ignite those coals and elevate your grilling expertise!
Key Takeaways
- Set up your Weber charcoal grill by cleaning out the ash, arranging the briquettes, and preheating with all vents open to reach an optimal temperature.
- Use a good thermometer to monitor the grill’s internal temperature and learn how to control the heat by adjusting top and bottom vents as needed for different cooking techniques.
- Experiment with grilling techniques like smoking low and slow, roasting on indirect heat, and searing over high heat to master a variety of dishes from tender ribs to perfectly crusted filet mignon.
- Equip yourself with high – quality Weber crafted accessories including durable grill covers, specialized cleaning tools, and versatile cookware designed for use on a charcoal grill.
- Practice makes perfect in becoming proficient at grilling; continue experimenting with temperatures, cook times, and recipes while using the right tools to evolve into a Weber Kettle Grill master.
Setting Up Your Weber Charcoal Grill
Before you start grilling, it’s important to properly set up your Weber charcoal grill. This includes preparing the kettle for preheating, using a good thermometer and controlling vents for temperature regulation.
These steps will ensure that your grill is ready to go and help you achieve the perfect cook every time.
Preparing the Kettle for Preheating
Getting my Weber charcoal grill ready for action starts with the right setup. I make sure to prepare it carefully so that I get a consistent, even heat every time.
- First, I open the grill and remove any ash or residue from previous sessions using the one – touch cleaning system.
- Next, I place fresh charcoal briquettes into the charcoal grate; this provides a strong heat source for grilling.
- I create two zones: a hot zone by stacking more briquettes in one area and a cooler zone with fewer briquettes. This allows me to manage different cooking temperatures.
- After arranging the briquettes, I add lighter fluid or use a chimney starter for an easier and safer ignition process.
- Once the coals are lightly covered with ash, which usually takes about 15 minutes, I spread them out for even heat distribution.
- Then, I set the cooking grate in place and close the lid to let my grill preheat.
- During this time, which takes another 10 to 15 minutes, I ensure that all vents are fully open to draw oxygen through and help reach optimal temperature.
Using a Good Thermometer
After preparing the kettle for preheating, using a good thermometer is crucial to monitor the internal temperature of your grill. This allows you to ensure that the heat level is just right for your cooking needs.
A reliable thermometer helps in achieving accurate and consistent results with your grilling, whether you’re smoking low and slow or searing steaks at high temperatures.
Staying mindful of the grill’s temperature also aids in controlling the cooking process, ensuring that your food is cooked perfectly without overcooking or undercooking. With precise temperature readings from a quality thermometer, you can easily adjust your vents and manage the charcoal layout to maintain an optimal grilling environment.
Controlling Vents for Temperature
After ensuring that the grill is preheated to the desired temperature using a good thermometer, the next key step is to control the vents to maintain the heat level. Here are some important tips for controlling vents on a charcoal grill:
- Positioning: Open the bottom vents to allow more oxygen in, which will increase the heat level. Closing them partially will lower the temperature.
- Adjusting Airflow: The top vent should be opened wider to raise the temperature and closed slightly to decrease it.
- Monitoring Temperature: Use a grill thermometer to gauge the internal temperature and make adjustments to the vents accordingly.
- Wind Consideration: If grilling outdoors on a windy day, adjust the vents accordingly to prevent excess airflow or loss of heat.
- Experimentation: Gradually adjusting and observing how each change affects temperature will help in mastering control over vents for precise grilling results.
- Heat Retention: Close all vents after cooking to suffocate remaining coals and preserve any unused briquettes for future use.
Grilling Basics for Beginners
Mastering the art of grilling low and slow for that perfectly tender and smoky flavor, learning how to roast on the grill for juicy and flavorful meats, and mastering searing techniques to lock in those delicious juices.
These are just a few basic grilling techniques every beginner should know.
Smoke Low and Slow
To smoke low and slow on your Weber charcoal grill, start by selecting the right wood chips or chunks for the flavor you want to achieve. Soak the wood in water for about 30 minutes before placing it on the hot coals. Ensure that the grill’s temperature stays between 225°F and 250°F throughout the smoking process.
- Use a water pan in your grill to maintain moisture levels, which helps keep your food juicy and prevents it from drying out.
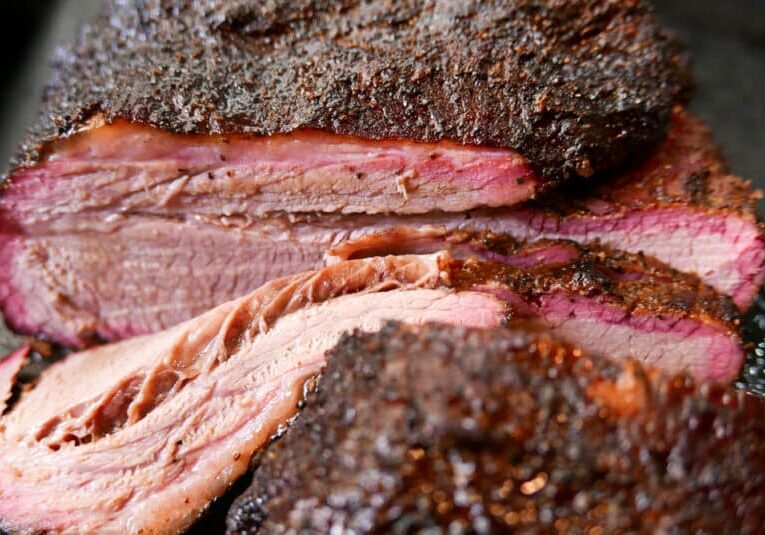
- Arrange the charcoal briquettes so they create an indirect heat zone for slow – smoking larger cuts of meat like brisket or pork shoulder.
- Consider using a drip pan underneath your food to catch any drippings and prevent flare – ups.
- Check the charcoal and wood chunks periodically, adding more as needed to maintain a steady level of smoke throughout the cooking process.
Roasting on the Grill
After mastering the art of smoking low and slow, another essential technique to explore is roasting on the grill. This method allows for even cooking and succulent flavors. Here are some tips for perfecting your roasting skills:
- Use a two – zone fire to control the heat and avoid burning the food.
- Consider using indirect heat by placing a heat shield or a drip pan between the coals and the food to create a convection effect.
- Monitor the internal temperature of the meat using a reliable meat thermometer to ensure it’s cooked to perfection.
- Baste the meat with flavorful marinades or sauces throughout the cooking process to enhance its taste and tenderness.
- Let the meat rest for a few minutes after roasting to allow its juices to redistribute, ensuring moist and juicy results.
Searing Techniques
To achieve the perfect sear on your meat, follow these steps:
- Preheat the grill to high heat by arranging the charcoal briquettes in a single layer.
- Let the grill become hot for at least 10 – 15 minutes before placing the meat on the cooking grate.
- Place the meat directly over the hot coals, ensuring it is in full contact with the grill grates.
- Keep the lid off and monitor closely to prevent charring – a good sear should take around 2-3 minutes per side for most cuts of meat.
- Use tongs to flip and remove your meat from the grill once both sides are perfectly seared.
Taking Advantage of Weber Crafted Accessories
Make the most of your grilling experience with Weber crafted accessories – from grill covers and cleaning tools to cookware that’s designed for optimal performance on your charcoal grill.
Read on for more expert tips and techniques to elevate your grilling game!
Grill Covers and Cleaning Tools
I always make sure to keep my Weber Charcoal Grill protected with a durable grill cover. It helps shield the grill from dust, debris, and harsh weather conditions. After grilling, I use specially designed cleaning tools for easy maintenance and to ensure that my grill remains in top condition.
The cleaning tools help me easily remove any leftover ash or residue from the grates and kettle interior.
Investing in quality grill covers and cleaning tools has made it effortless for me to maintain my Weber Charcoal Grill after each use. It’s important to protect your investment by keeping it covered when not in use and regularly cleaning it with the right tools.
Cookware
When choosing cookware for your Weber charcoal grill, consider high-quality options that can withstand the heat and provide even cooking. Look for durable cast iron or stainless steel grates to ensure your food cooks evenly and gets those perfect grill marks.
Additionally, having a variety of cookware options like griddles, woks, or vegetable baskets can expand your grilling repertoire and allow you to experiment with different recipes and cooking techniques.
Don’t forget to invest in quality gloves, tongs, and spatulas designed specifically for grilling to make handling hot cookware safe and easy.
Having the right cookware is essential when using a Weber charcoal grill. This includes ensuring you have the appropriate sized pots, pans, or trays that fit comfortably on your grill’s cooking grate.
Tips and Techniques for Perfect Grilling
– I’ll share my favorite tips for preparing ribs, grilling filet mignon, and making twice baked potatoes as a delicious side dish. For more expert grilling advice, keep reading!
Preparing Ribs
To prepare ribs:
- Remove the membrane from the back of the ribs using a small knife.
- Rub the ribs with your favorite dry rub seasoning, ensuring to cover all sides evenly.
- Preheat the charcoal grill to 225 – 250°F by setting up for an indirect cooking method.
- Place the seasoned ribs on the cooking grate over a drip pan and close the lid.
- Smoke the ribs for 3 – 4 hours, adding charcoal and wood chunks as needed to maintain temperature and smoke flavor.
- Check for doneness by bending the rack, looking for slight cracking in the meat.
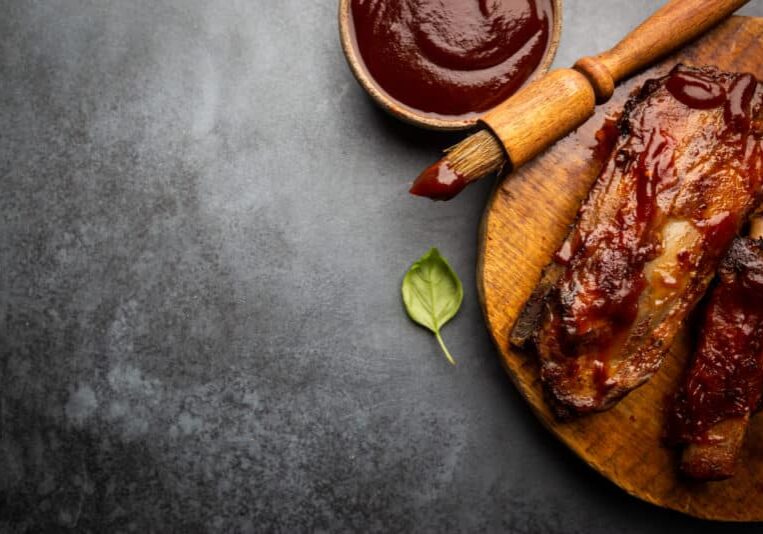
- Glaze the ribs with barbecue sauce during the last 30 minutes of cooking if desired, then let them rest before slicing and serving.
Grilling Filet Mignon
Grilling Filet Mignon is a delightful experience that requires attention to detail and precision. Here are some essential tips for achieving the perfect filet mignon on your Weber charcoal grill:
- Season the filet mignon with salt and pepper before grilling.
- Preheat the charcoal grill to high heat (about 450 – 500°F).
- Sear each side of the filet mignon for 2 – 3 minutes to achieve a beautiful crust.
- Move the filet mignon to an indirect heat zone on the grill by moving it away from direct flames or coals.
- Cook the filet mignon over indirect heat for an additional 6 – 8 minutes until it reaches your desired level of doneness (use a meat thermometer to check internal temperature).
- Let the filet mignon rest for 5 – 10 minutes before serving, allowing the juices to redistribute evenly.
Twice Baked Potatoes as a Side
After mastering the art of grilling filet mignon, it’s time to elevate your grilling game with the perfect side dish – twice baked potatoes. Here are some easy tips for making this delicious side:
- Begin by baking the potatoes until they are tender and then allow them to cool slightly before handling.
- Slice the potatoes in half lengthwise and carefully scoop out the flesh, leaving a thin layer inside the skin.
- Mash together the potato flesh with butter, sour cream, cheese, and seasonings like salt, pepper, and garlic powder.
- Spoon the mashed potato mixture back into the potato skins and top with additional cheese and bacon bits if desired.
- Place the filled potatoes back on the grill for a few minutes until they are heated through and the cheese is melted and bubbly.
Conclusion: Becoming a Weber Kettle Grill Master
Mastering the Weber charcoal grill involves understanding its setup and cooking basics. Learning to preheat the kettle properly and control vents for temperature is crucial. Taking advantage of accessories like grill covers, cleaning tools, and cookware enhances your grilling experience.
Perfecting techniques for grilling ribs, filet mignon, and side dishes will elevate your skills. With practice and experimentation, you’ll become a Weber Kettle Grill master in no time!
FAQs
1. How do I set up my Weber charcoal grill?
To set up your Weber charcoal grill, follow the manual to assemble it, then arrange the charcoal briquettes on the grate and light them up for preheating.
2. What’s the proper way to light a charcoal grill?
Begin by piling up your charcoal briquettes in the center of the grill, ignite them safely using lighter fluid or a chimney starter, and wait until they’re covered with gray ash.
3. How can I control the temperature of my Weber charcoal grill?
Use the dampers located on your grill; opening vents will increase airflow and raise temperatures while closing vents will lower temperatures during cooking.
4. Can I add smoky flavor when grilling with charcoal?
Absolutely! Add smoke wood chunks or chips over hot coals just before placing your food on the cooking grate to infuse that delicious smoky taste into your barbecue.
5. Should I clean my Weber Grill after every use?
Yes, maintaining cleanliness extends its life; brush off any leftover food particles from grates after each use and periodically check for ash buildup for optimal performance.
Learn More About Grilling
If you want to learn more about grilling, check out these other helpful resources!

Patrick Harvey
Patrick is a life long grilling enthusiast with an eye for product development and user experience. His expertise helps us test and review all of the products you see the website.
About The Grilling Master
Hi there, I'm Kevin Turner, Founder and CEO of thegrillingmaster.com.
My passion has always been grilling, smoking and BBQ delicious meats that satisfy my inner carnivore!
I started this website to share my passion and knowledge with you, the hungry reader who wants to prepare the perfect meal.
You can leverage my years of experience as a pit master and professional.
Send me a message and let's connect on Twitter here.


