How to Cook Texas Brisket on the Grill: A Step-by-Step Guide
TheGrillingMaster.com is reader-supported. If you buy something using the links on our site, we might earn an affiliate commission at no added cost to you. This helps us pay our staff to keep making awesome content for you!
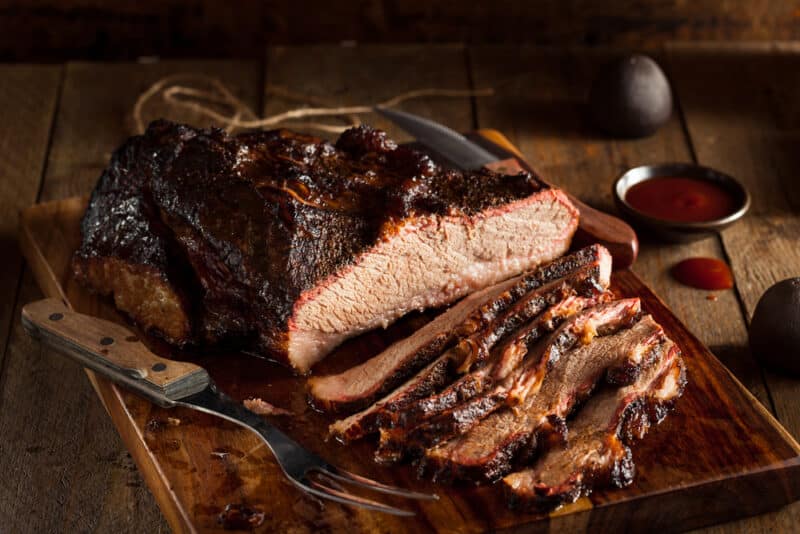
Growing up in Texas, brisket wasn’t just another dish… it was a cherished tradition.
Every family gathering or celebration would be incomplete without that smoky, tender meat gracing our tables. The history of Texas brisket is rich, tracing back to the state’s early settlers who had to make do with tougher cuts of meat.
They turned to slow cooking as a solution, and thus, the legendary Texas brisket was born. Grilling, especially, holds a special place in Texan cuisine. It’s not just about cooking; it’s an art, a ritual, and a testament to our love for good food and good company.
Choosing the Right Brisket
My love affair with brisket began long before I even knew how to light up a grill. As a Texan, it’s in my blood. But, like many passionate affairs, it’s not just about the heart (or in this case, the stomach); it’s also about the mind. Understanding the meat you’re working with is crucial, and that starts with choosing the right brisket.
The first time I set out to buy a brisket, I was overwhelmed. The choices seemed endless. Size, marbling, cut – where does one even begin? Over the years, I’ve learned a thing or two, and I’m here to share that wisdom.
Size Matters: The size of the brisket you choose will largely depend on the number of mouths you’re feeding. For a family gathering, I usually go for a full packer brisket, which weighs between 12 to 18 pounds. It’s a commitment, both in terms of cooking time and the number of leftovers you’ll have (which, by the way, are delicious). For smaller affairs, a 5 to 8-pound brisket does the trick.
Marbling is Key: Marbling refers to the white flecks of fat within the meat. These flecks melt during cooking, making the brisket juicy and flavorful. The first brisket I ever cooked was lean, and while it was okay, it lacked that melt-in-your-mouth quality. Now, I always opt for a brisket with good marbling. It ensures that every bite is tender and packed with flavor.
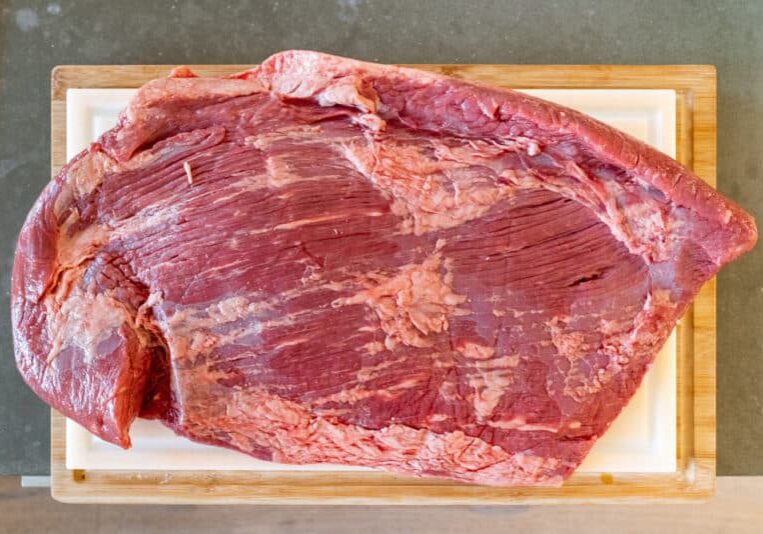
Understanding the Cut: Brisket comes from the lower chest of the cow and consists of two main parts: the flat and the point. The flat is leaner and slices beautifully, making it perfect for sandwiches. The point, on the other hand, has more fat and is ideal for those juicy, pull-apart chunks of meat. When I was a novice, I’d often get confused between the two. But here’s a tip: if you’re looking for a balanced brisket experience, go for a full packer. It includes both the flat and the point, giving you the best of both worlds.
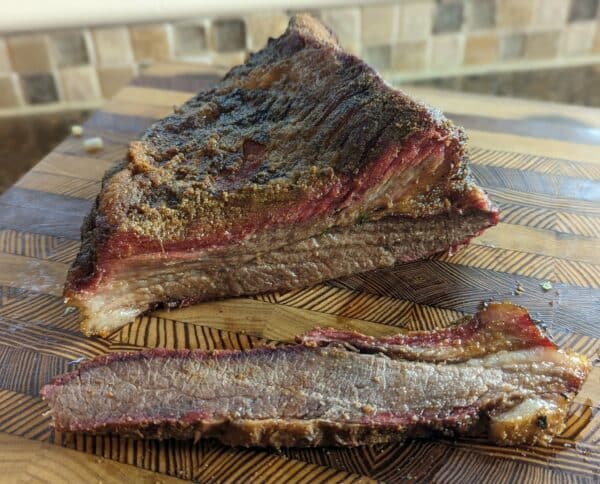
(This brisket took 12 hours and came out perfect!)
Brisket Preparation Steps
Okay, so you’ve got your perfect brisket, and you’re raring to go. But hold your horses! Before that beauty hits the grill, there’s a bit of prep work involved. Trust me, I’ve learned the hard way that diving in without prepping is like trying to bake a cake without preheating the oven. Here’s how I get my brisket ready for its big debut:
The Dry Rub Ritual: Every brisket lover has their secret dry rub recipe, and over the years, I’ve tweaked mine to perfection. It’s a mix of salt, pepper, a hint of brown sugar, smoked paprika, and a couple of other secret ingredients that I might share one day. The key is to generously coat the brisket with the rub, massaging it into every nook and cranny. I usually let it sit overnight, letting those flavors seep deep into the meat. The transformation this simple mix brings to the brisket is nothing short of magic.
Marinating Moments: While some folks swear by dry rub alone, I’m a firm believer in a good marinade, especially if I’m aiming for a juicier finish. A mix of apple cider vinegar, Worcestershire sauce, and a touch of liquid smoke does wonders. I let the brisket soak in this concoction for a few hours, sometimes even overnight if I’m feeling patient. The result? A tender, flavorful brisket that’s got layers of taste.
Trimming Tales: Ah, the art of trimming. Now, I’ve seen many a debate about how much fat to leave on. Here’s my two cents: you want enough to keep the brisket moist and flavorful but not so much that it turns into a greasy mess. I usually aim for a quarter-inch layer. It’s a bit of a Goldilocks situation, but with a sharp knife and a bit of patience, you’ll find that “just right” balance.
A Little TLC: Before I wrap up the prep, I like to let my brisket sit at room temperature for about an hour. It ensures even cooking. And while it rests, I take a moment to visualize the deliciousness that’s about to ensue. A bit of positive brisket vibes never hurt!
Brisket Spray: Using a brisket spray is a popular way to improve the taste and moisture. I always recommend this step.
Prepping the brisket is a labor of love. It’s about understanding the meat, respecting the process, and adding a touch of personal flair.
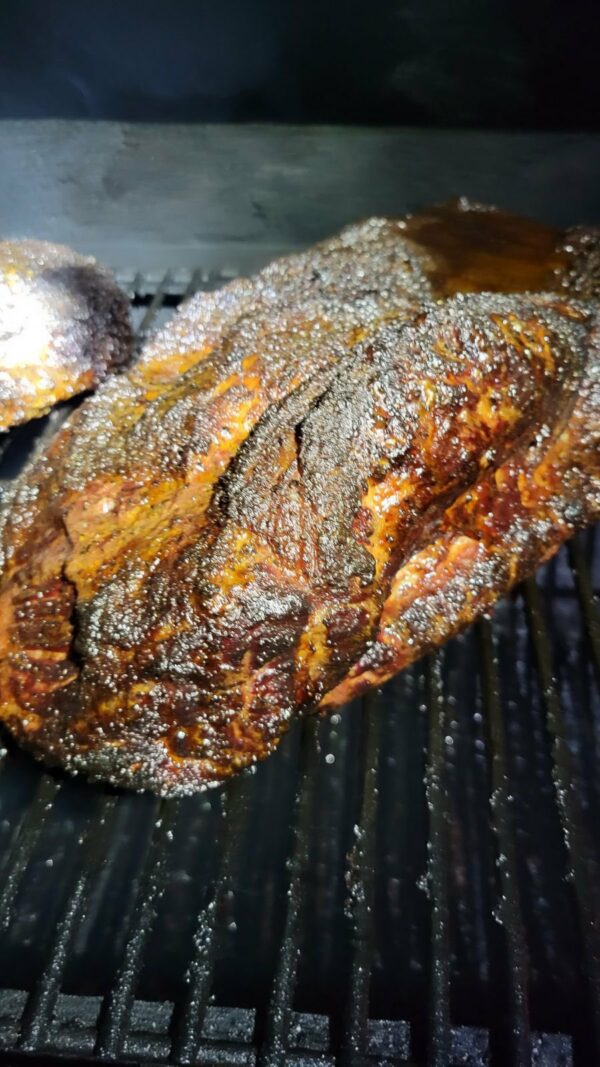
(Having a good rub can help you get a bark that looks like this on your brisket.)
Setting Up the Grill
Alright, let’s get to the heart of the matter: the grill.
Now, I’ve had my fair share of grilling adventures, from epic BBQ successes to those “let’s never speak of this again” mishaps. And through it all, I’ve come to realize that setting up the grill right is half the battle won. Here’s how I get my grill game on point:
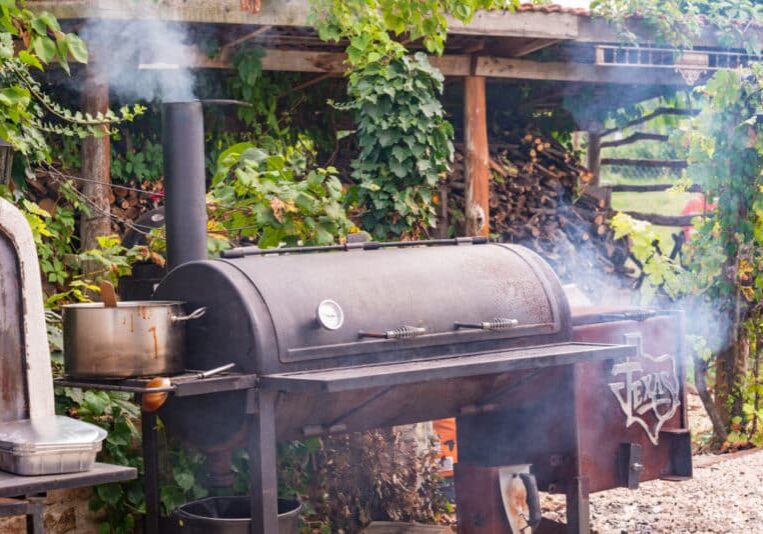
The Great Debate: Charcoal vs. Gas: I’ve grilled on both, and boy, do folks have strong opinions on this one! Charcoal smokers give you that authentic smoky flavor that’s hard to replicate. The aroma, the crackling sound of coals – it’s an experience. Gas grills, on the other hand, offer convenience. They heat up fast, and the temperature control is spot on. Personally, I lean towards charcoal for my brisket. There’s something about that slow-cooked, smoky tenderness that gets me every time.
Hitting the Temperature Sweet Spot: Getting the right temperature is crucial. Too hot, and you’ll end up with a charred exterior and an undercooked inside. Too low, and you’ll be waiting till the cows come home. I aim for a steady 225°F to 250°F for brisket. A good thermometer is your best friend here. And remember, patience is key. Let the grill reach the desired temperature before that brisket goes on.
The Art of Indirect Heat: This was a game-changer for me. Instead of placing the brisket directly over the heat, I set it up so the meat sits away from the heat source. This allows it to cook slowly, soaking up all those flavors without getting burnt. If you’re using a charcoal grill, push the coals to one side and place the brisket on the other. For gas grills, light up the burners on one side and place the meat on the unlit side.
Prepping the Grill Grates: A simple step, but oh-so-important. I give the grates a good clean to ensure no remnants from the last BBQ session are lingering. Then, I lightly oil them. This prevents the brisket from sticking and gives it those gorgeous grill marks.
Setting up the grill might seem like a lot of work, but trust me, it’s worth every minute. It’s like setting the stage for a grand performance. And when that brisket starts sizzling and the air fills with that unmistakable aroma, you’ll know you’ve set the stage just right.
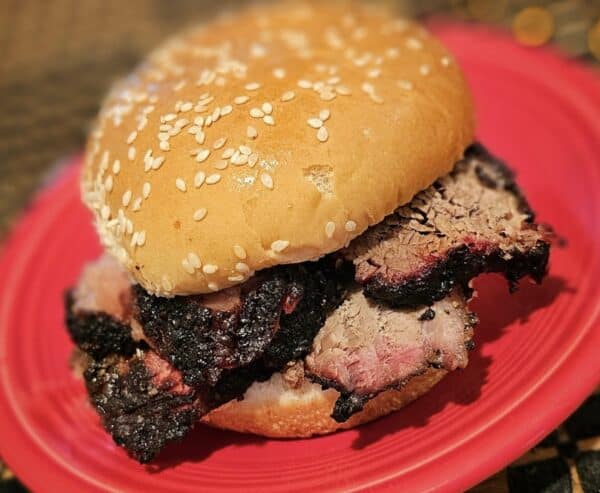
(A brisket sandwich is an amazing use of leftovers if you have any.)
Grilling the Brisket
Now that our stage (read: grill) is set, it’s showtime for our star performer: the brisket. I’ve had countless grilling sessions, each one teaching me something new. And if there’s one thing I’ve learned, it’s that grilling brisket is as much about intuition as it is about technique. Here’s how I bring my A-game to grilling brisket:
The Fat Side Debate: To place the brisket fat side up or down? Ah, the age-old question. I’ve tried both, and here’s my take: I go fat side up. The logic? As the fat slowly melts, it bastes the brisket, keeping it moist and adding an extra layer of flavor. But hey, there’s no hard and fast rule here. Some swear by the fat side down method to protect the meat from the heat. Experiment and see what works best for you.
Temperature Tango: Remember that thermometer I mentioned earlier? It’s about to become your best buddy. Consistently monitoring the brisket’s internal temperature is crucial. I aim for an internal temp of around 195°F to 203°F. That’s when you know the brisket is tender and ready to melt in your mouth.
Misting and Wrapping: About halfway through the grilling, when the brisket has that gorgeous mahogany hue, I give it a gentle mist with a mix of apple cider vinegar and water. It keeps the surface moist and adds a tangy touch. Once the brisket hits around 150°F, I wrap it in butcher paper or aluminum foil. This helps push through the infamous “stall” (that period when the temperature seems stuck) and locks in the juices.
Patience, My Friend: Brisket grilling is not for the impatient. It’s a slow dance, one that can’t be rushed. There might be moments of doubt, moments when you’re tempted to crank up the heat. Resist! Let the brisket take its sweet time. Trust me, the wait is worth it.
Wood Chips and Smoke
Ah, the soul of a true Texas brisket: the smoke. I’ve always believed that the smoke is what sets a good brisket apart from a great one. It’s like the secret sauce, adding depth and character to the meat. Over my grilling years, I’ve experimented with different woods and techniques, and here’s the lowdown on getting that perfect smoky flavor:
Choosing the Right Wood:
- Oak: My go-to choice. It burns slow and steady, imparting a medium-strong smoky flavor that’s just perfect for brisket.
- Hickory: A stronger, bacon-like flavor. It’s bold, so a little goes a long way.
- Mesquite: Ah, the classic Texas choice. It’s intense, so I’d recommend mixing it with milder woods if you’re new to the game.
- Pecan: It’s like hickory’s milder cousin. Delicate, with a sweet finish. Great for those who prefer a subtler smoky touch.
To Soak or Not to Soak:
- When I started out, I’d always soak my wood chips, thinking it’d produce more smoke. But over time, I realized it’s not about the quantity but the quality of smoke. Soaking can lead to a smoldering burn, producing a bitter taste. These days, I skip the soaking and go for dry chips. They burn cleaner and give a much better flavor.
Managing the Smoke:
- Vent Control: Your grill’s vents are key to controlling the smoke. I keep the bottom vents mostly open to draw in air, and adjust the top ones to regulate the smoke flow.
- White vs. Blue Smoke: Ever noticed the color of your smoke? Thick white smoke can make your brisket taste bitter. What you want is thin, blueish smoke. It’s cleaner and imparts that lovely, smoky flavor without any bitterness.
- Replenishing Wood Chips: About every hour, I add a handful of wood chips to keep the smoke going. But remember, it’s a marathon, not a sprint. Over-smoking can overshadow the natural flavors of the brisket.
Testing for Doneness
The crescendo of our brisket journey: determining its doneness. I’ve been at this crossroads many times, fork in hand, anticipation in the air, wondering if it’s time to pull the brisket off the grill.
The “Poke” Test: This is as old-school as it gets, and sometimes, old ways are golden. I gently poke the brisket with my finger. If it’s soft and jiggly, almost like a set jelly, it’s a good sign. The brisket should yield to your touch, indicating that the connective tissues have broken down and it’s reached that melt-in-the-mouth stage.
The Trusty Thermometer: While the poke test is great, I always double-check with a meat thermometer. It’s the most reliable way to know if your brisket is done. I aim for an internal temperature of 195°F to 203°F. But here’s a tip: don’t just check in one spot. Probe a few different areas to ensure even cooking.
The Bend Test: This one’s a bit of a spectacle, and I love it. I pick up the brisket using a pair of tongs, and if it bends easily in the middle without breaking apart, it’s ready. It’s a clear sign that the brisket is tender and juicy.
Rest and Relax: Once off the grill, the brisket’s journey isn’t over. Resting is crucial. I wrap it in butcher paper or a thick cloth and let it sit for at least an hour. This allows the juices to redistribute, ensuring every slice is moist. Plus, the brisket continues to cook a bit during this time, reaching its peak tenderness.
There’s a certain thrill in testing for doneness. It’s that moment of truth, the culmination of hours of patience and hard work. And while these techniques serve as a guide, every brisket is unique. Over time, you’ll develop a sixth sense, an innate understanding of when your brisket is just right. It’s a dance between technique and intuition, and that’s the beauty of it.
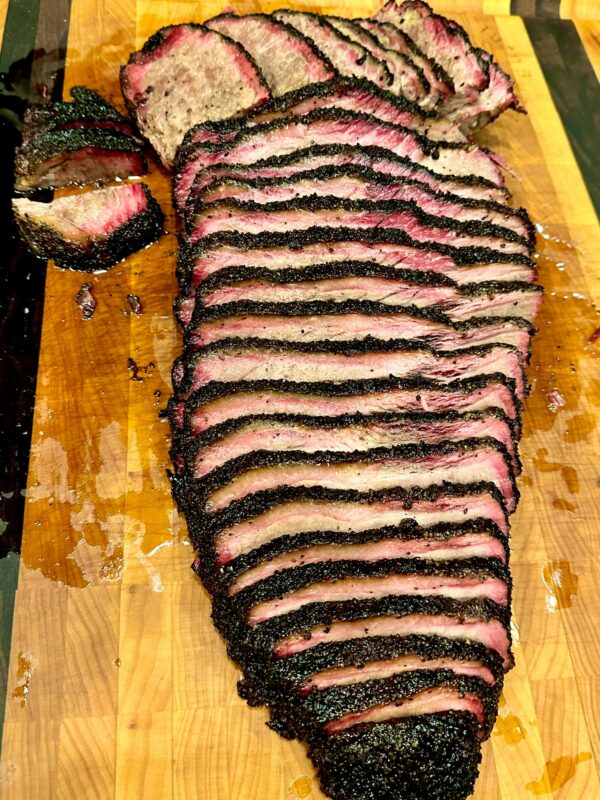
Serving Suggestions and Side Dishes
Ah, the grand finale! After hours of tending to the grill, it’s finally time to slice, serve, and savor. But wait, before you dive in, let’s talk about the best ways to present and enjoy that glorious brisket.
Serving Suggestions
Ah, the grand finale! After hours of tending to the grill, it’s finally time to slice, serve, and savor. But wait, before you dive in, let’s talk about the best ways to present and enjoy that glorious brisket. Over the years, I’ve picked up a few tricks that elevate the whole brisket experience. Here’s my playbook:
-
Slicing the Brisket:
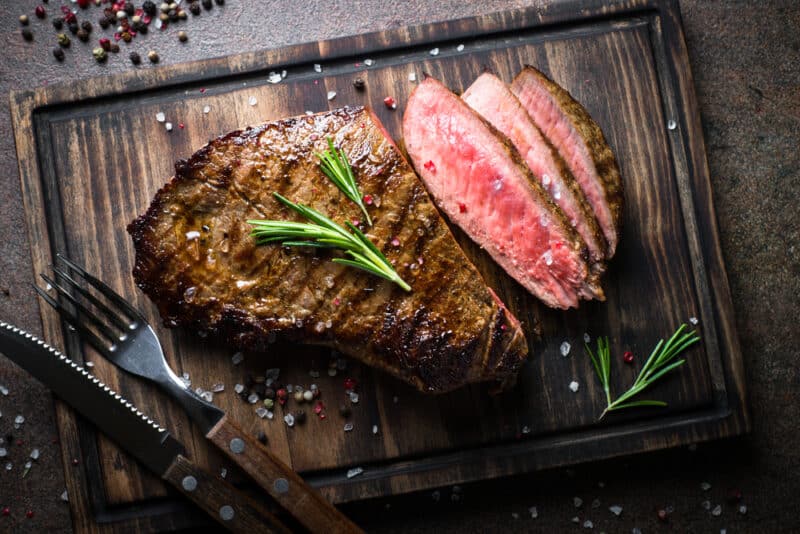
- Against the Grain: This is non-negotiable. Always slice your brisket against the grain. It ensures each slice is tender and falls apart just right.
- Thickness Matters: Aim for pencil-thick slices. Too thin, and they might fall apart; too thick, and you lose that delicate texture.
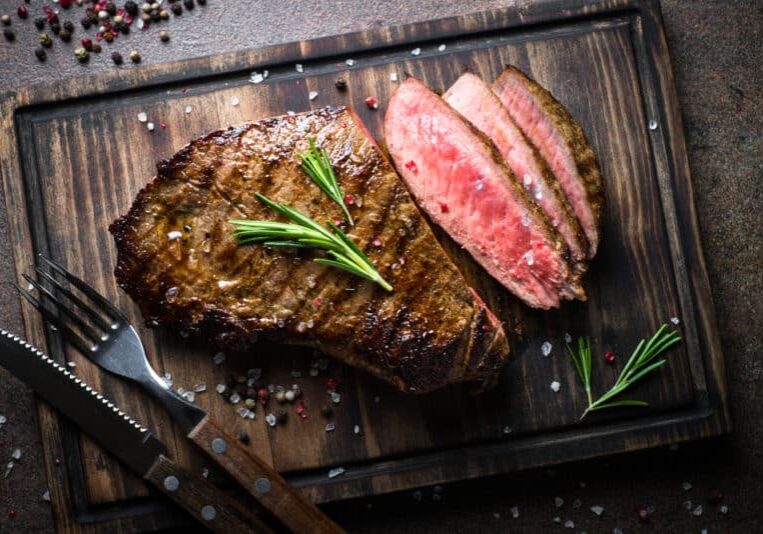
- Flat vs. Point: Remember, the brisket has two parts. I start by slicing the flat, then move on to the point, which is perfect for chunkier, pull-apart pieces.
-
Traditional Texas Sides:
- Baked Beans: A classic choice, simmered with a touch of molasses and bacon.
- Coleslaw: I love a tangy, vinegar-based slaw to cut through the richness of the brisket.
- Cornbread: Golden, slightly sweet, and the perfect vessel to mop up those brisket juices.
- Potato Salad: Creamy, with a hint of mustard and pickles. A true Texan delight.
-
Sauce or No Sauce? The Texas Debate:
- On the Side: I’m a purist at heart. I believe a well-cooked brisket should stand on its own. So, if I do serve sauce, it’s always on the side. Let folks decide how they want to dress their slice.
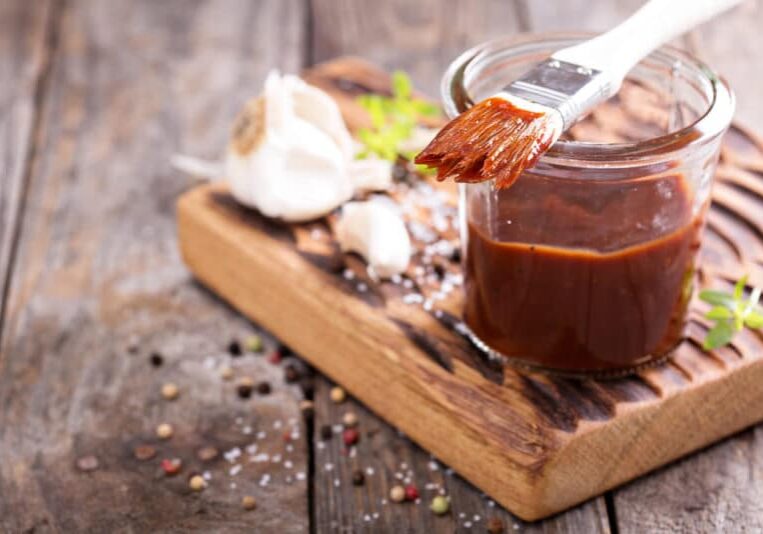
- Keep it Simple: If you’re making a sauce, keep it straightforward. A mix of ketchup, vinegar, a touch of brown sugar, and some spices. Remember, it should complement the brisket, not overpower it.
-
Drink Pairings:
- Iced Tea: Sweetened or not, it’s the classic Texan choice.
- Craft Beers: A cold, local brew can elevate the brisket experience. I lean towards amber ales or smoky porters.
- Bourbon: For those special occasions, a neat bourbon or a bourbon-based cocktail pairs beautifully with the smoky flavors of the brisket.
FAQs: Troubleshooting Common Brisket Issues
1. Why is my brisket dry? It’s a heartbreaker, spending hours on a brisket only to find it dry. This usually happens if it’s overcooked or cooked too quickly. Remember, brisket loves low and slow. Ensure you’re maintaining a consistent temperature and consider wrapping your brisket partway through the cook to retain moisture.
2. I’ve hit the “brisket stall.” What now? Ah, the infamous stall, when the temperature of your brisket seems stuck. Don’t panic! It’s a natural part of the process. The stall occurs as the meat sweats, and the moisture evaporates, cooling the brisket. You can either ride it out or wrap the brisket in butcher paper or foil to push through the stall faster.
3. My brisket has a tough bark. Is that normal? A good bark is desirable, but it shouldn’t be too tough. If it is, it might be due to cooking at too high a temperature or over-smoking. Ensure you’re using the right amount of wood and maintaining a steady temperature.
4. How long should I rest my brisket? Resting is crucial. It allows the juices to redistribute, ensuring a moist brisket. I recommend resting for at least an hour, but if you can wait longer, even better!
5. Can I refrigerate and reheat my brisket? Absolutely! Brisket tastes great the next day. Store it in an airtight container in the fridge. When reheating, do so gently, either in the oven at a low temperature or on the stovetop with some added broth to keep it moist.
Learn More About Grilling
If you want to learn more about grilling, check out these other helpful resources!

Kevin Turner
Hi there, I'm Kevin Turner, Founder and CEO of thegrillingmaster.com. I started this website to share my passion and knowledge with you. You can leverage my years of experience as a pit master and professional to grill great food!
About The Grilling Master
Hi there, I'm Kevin Turner, Founder and CEO of thegrillingmaster.com.
My passion has always been grilling, smoking and BBQ delicious meats that satisfy my inner carnivore!
I started this website to share my passion and knowledge with you, the hungry reader who wants to prepare the perfect meal.
You can leverage my years of experience as a pit master and professional.
Send me a message and let's connect on Twitter here.


